


Do you want to use Reels ads on Instagram? Wondering how to get started with this ad option?
In this article, you’ll discover what Instagram Reels ads are and learn how to create them from scratch for your next campaign.
Reels ads are the latest ad format on Instagram. They join a long list of other ad placements, from traditional feed posts to Stories, IGTV, Messenger, and the Explore tab. Following a pilot scheme in just a few countries, Reels ads are now available in all locations.
Reels are short videos to which you can add audio tracks and special effects. They can be created from existing videos or shot in the moment. And you can use your own audio or sample a song from the Instagram library. In other words, they offer a lot of creative flexibility to show off your brand, products, services, and purpose.
But there are a few key things you need to know. For starters, Reels ads aren’t exactly the same as organic reels. They can only be up to 30 seconds long (unlike standard reels, which can be a full minute). And, unlike other promoted posts on Instagram, they can only be created on desktop.
However, Instagram is pushing this format hard. It’s redesigned the app interface so that reels are front and center, appearing in the home feed, profile pages, and the Explore tab. It’s also added numerous features to help creators and brands monetize reels, such as the new Collab tag.
Here’s how to create your first Instagram Reels campaign.
First things first: You need to fire up your desktop and log into Facebook Ads Manager. You can access this by going directly to the Ads Manager URL, or by choosing Ads Manager from the left-hand menu in your Facebook news feed.
Here’s a quick reminder of where you can create different types of Instagram ads:
To start making Reels ads, click the green Create button.
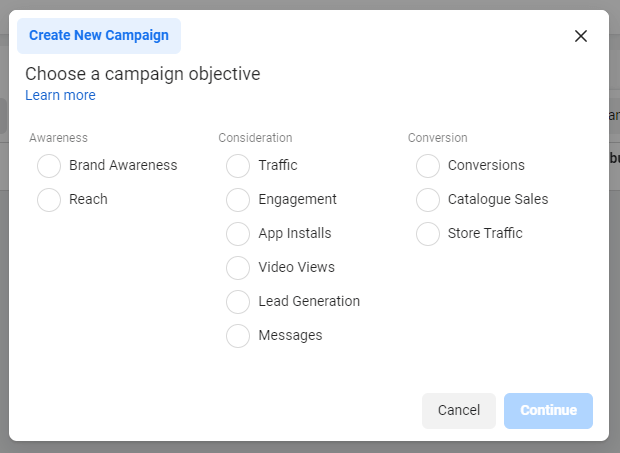
The first question Ads Manager asks is: What’s your goal? You have your choice of the usual campaign objectives, from brand awareness to lead generation and conversions.
This question matters for two reasons. First, Ads Manager will use your response to target your ads more efficiently, getting more results for your money. Second, you should never run social media ads without a clear, specific goal in mind.
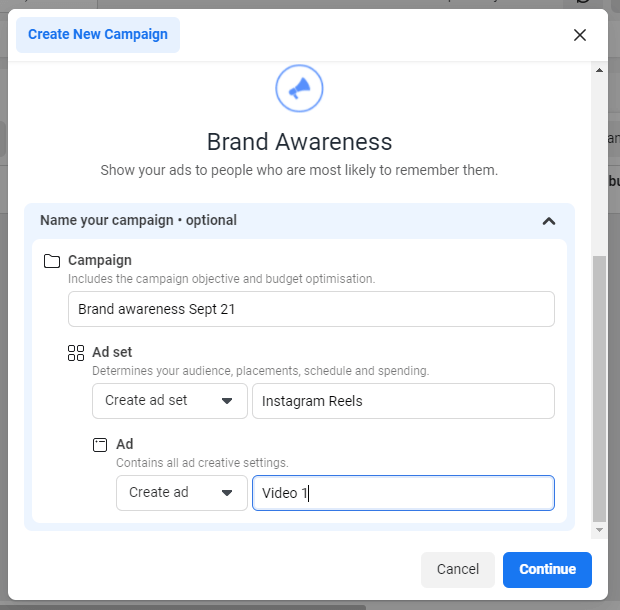
After choosing your objectives, name your campaign, ad set, and ad. Think of this like naming files on your computer. It’s tempting to just type “ad final version FINAL june final insta approved” but it’s more helpful to use a descriptive name that will help you understand its contents.
For example, I’ve named this campaign by date: “Brand awareness Sept 21.” I named the ad set “Instagram Reels” because this is exclusively a Reels campaign. The ad itself is titled “Video 1” so I can compare the performance of different videos as I create more ads.
Click Continue to move to the main ad editor.
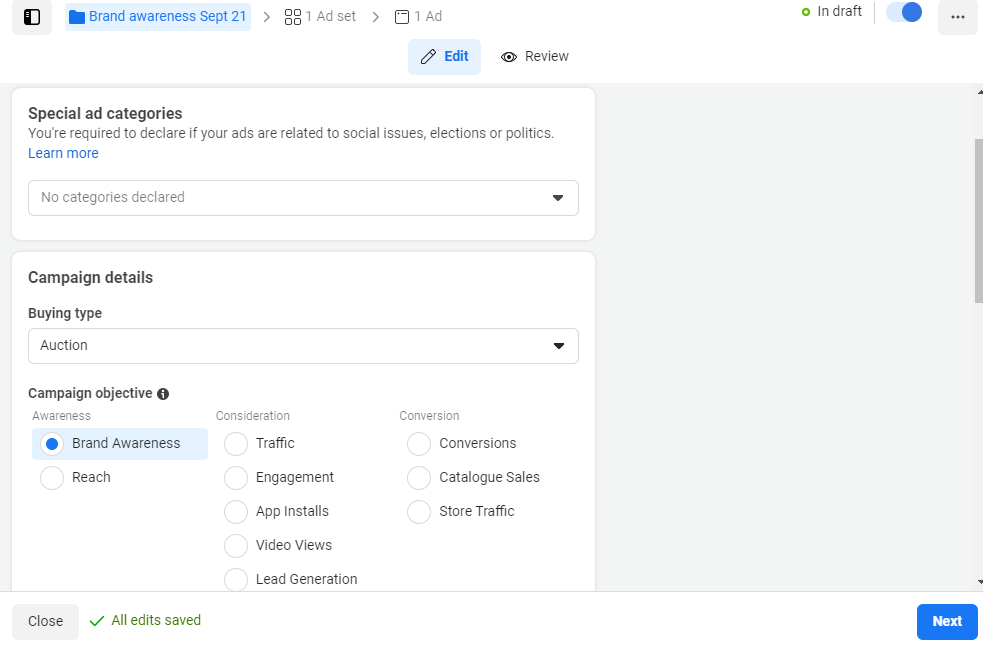
Next, you need to inform Facebook if your ad has any special content. Does it comment on any current elections, politics, or social issues? Read this article to discover whether your ad belongs in a restricted Special Ad Category.
Next, you’ll have the chance to set up an A/B test. Facebook’s own help documents actually recommend doing this later in the ad creation process and I agree. If you select A/B testing at this point, it’s confusing to set up (and very easy to just forget about). Save it for the Ads Manager toolbar once your ad is ready to go.
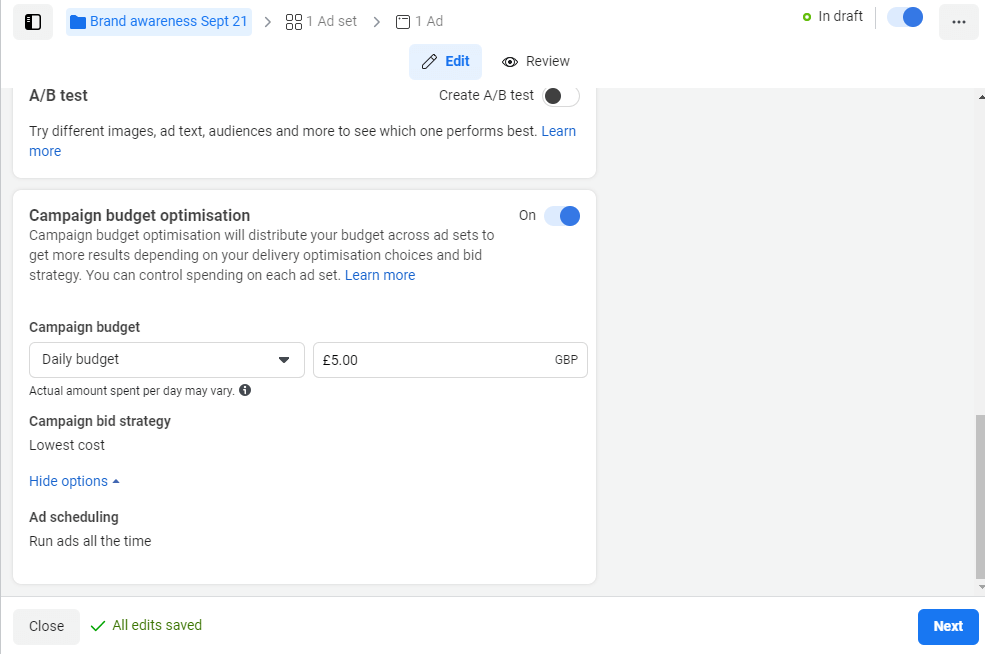
Finally, you can choose whether to let Facebook manage your budget automatically or set spending limits yourself. If you choose Campaign Budget Optimization, you’ll set your budget on this page. If you switch it off, you’ll be able to manage your budget on the next screen of the ad editor.
Pro Tip: For a simple summary of the choices you’ve made so far, without all of the drop-down menus getting in the way, click the Review tab at the top of the editor. The Review tab shows up on every page of the editor and it’s helpful to use it as a final check.
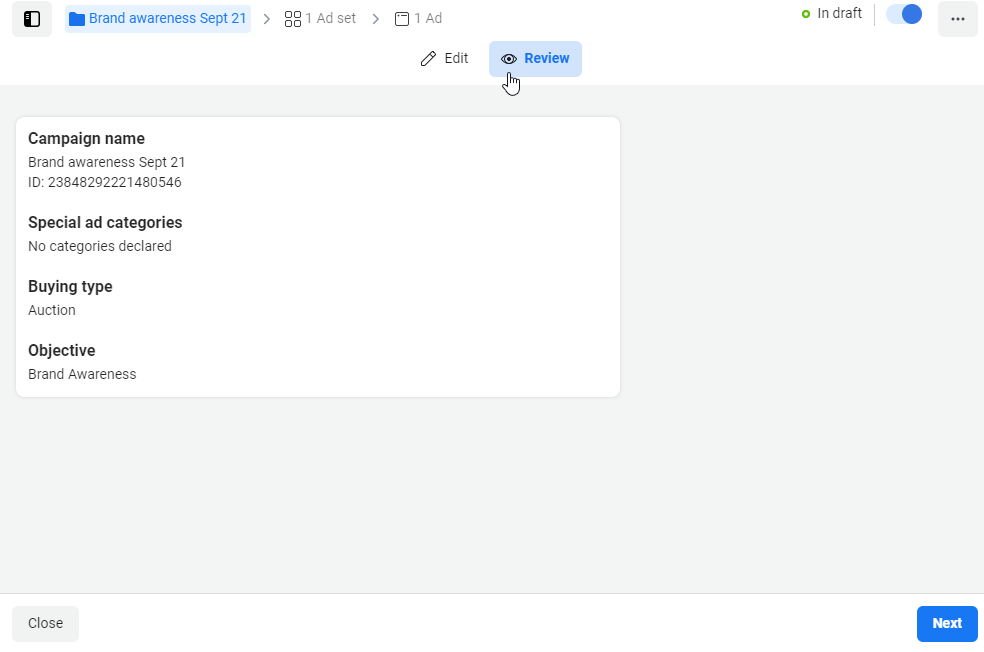
Once you’re happy with everything, click Next.
On the next screen, Ads Manager offers the Dynamic Creative option. You might have already used this for other Instagram or Facebook ads. Basically, you supply a few different images and headlines, and Ads Manager plays around with different combinations to see what works best.
This is kind of fun to experiment with but it’s not a good fit for Reels ads. Ads Manager has other automated creative options for Reels videos, which we’ll look at later. Leave the box unchecked for now.
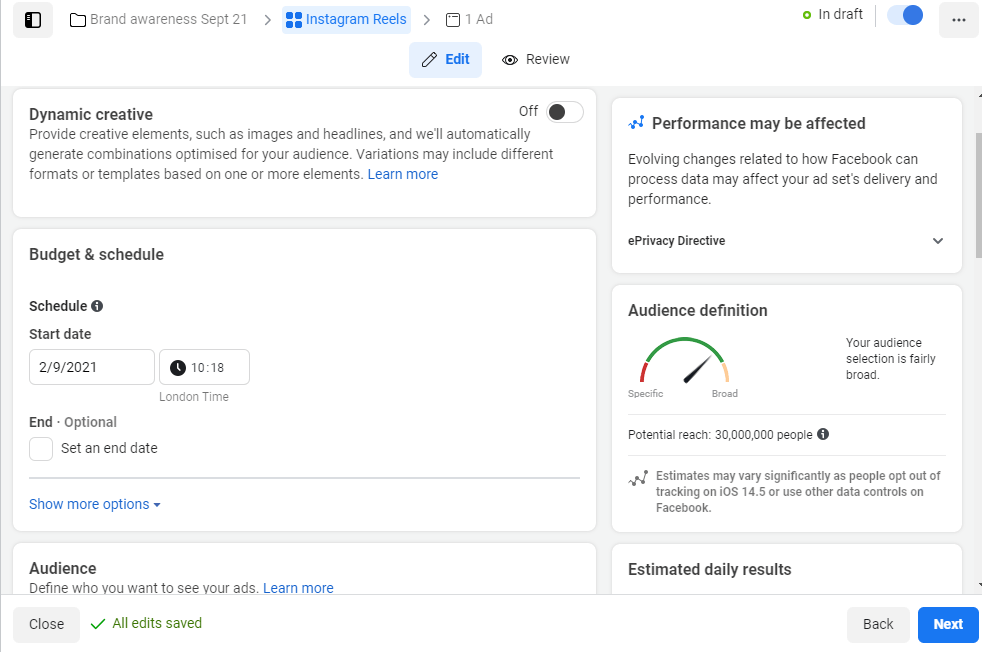
This is also the screen where you set your campaign dates. If you left Campaign Budget Optimization switched off, then you’ll also have options to set a daily or overall budget.
Scroll down and you’ll see the audience section. This is just like other ads on Instagram and Facebook: you can choose various parameters for demographics, interests, and locations, or use an audience you saved from a previous campaign.
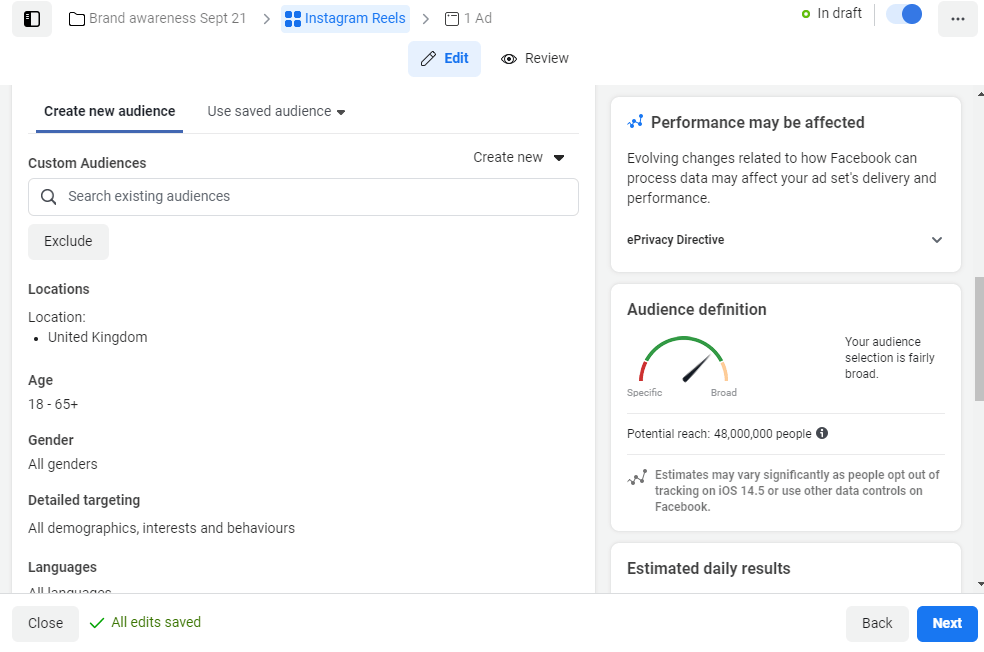
The audience for your Reels ads may be very different from your usual crowd on social media. This goes to the heart of your Reels strategy: Are you using this ad format to reach new users or as a support for your existing content?
If you want to reach new people, you need to set new ad parameters.
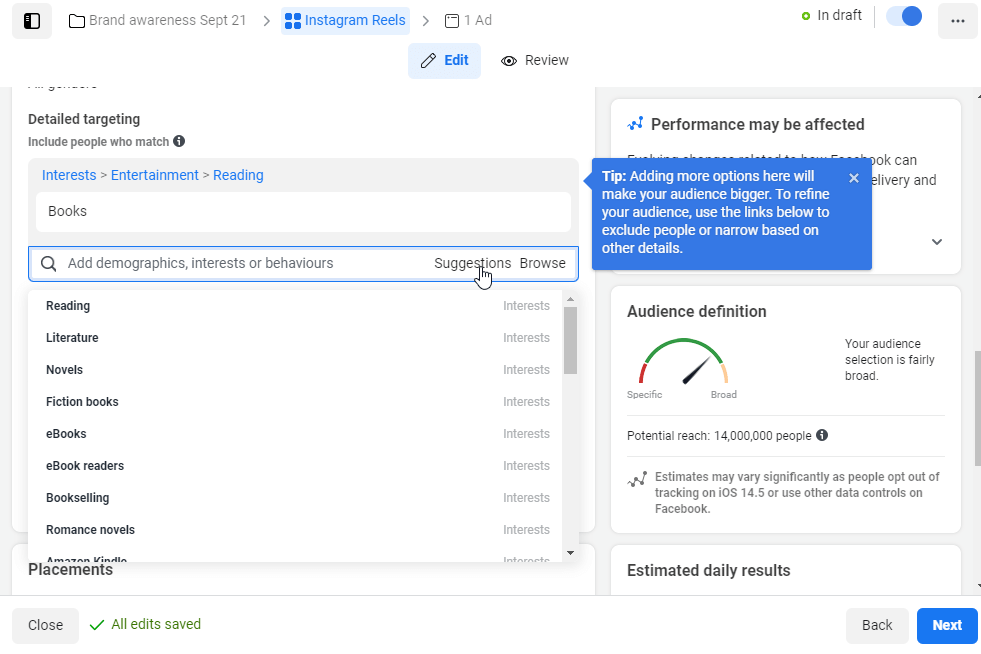
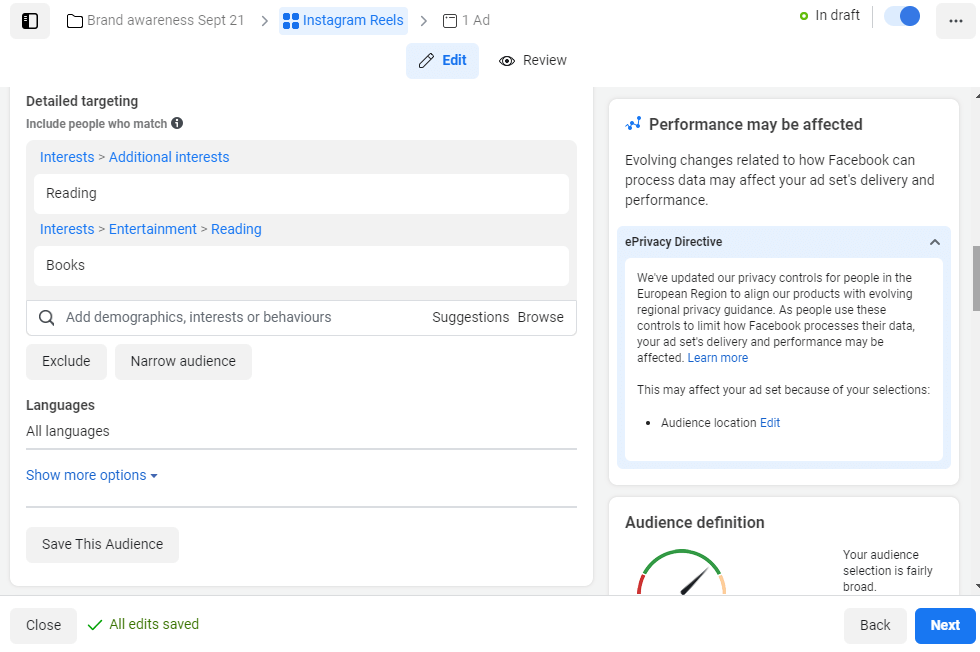
If you do create a new audience for your Reels ads, make sure you save it for future use. Just like the ad itself, use a descriptive name that will help you understand it later on.
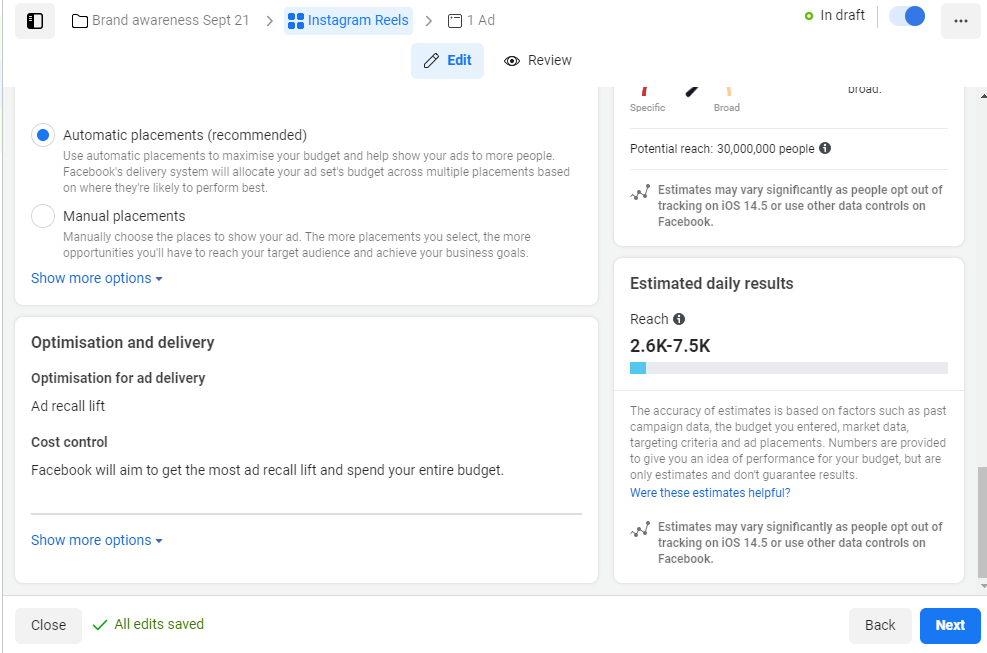
Now it’s time to tell Ads Manager that you’re making a Reels ad. You’re going to be using the Placements menu.
You have two options: automatic placements or manual placements. With automatic placements, Facebook chooses where to show your ads, which may or may not include Reels. To make sure, use manual placements.
As soon as you select this option, you’ll see a long list of options. Start by unchecking Facebook, Messenger, and Audience Network because those placements don’t have Reels.
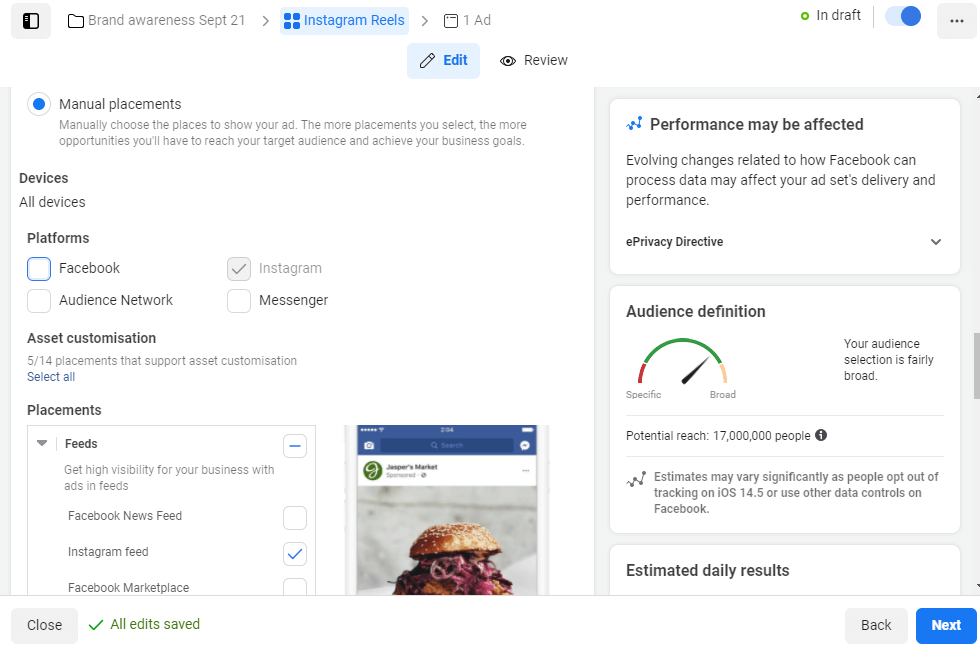
Obviously, the most important option to select is Instagram Reels. Because you’re already working with a vertical video format, you may want to go with Stories as well.
You can mix formats, of course; you might want to throw in some Explore tab or home feed ads, too. Just be aware that Instagram may crop your reel for size or length when it appears in these locations.
So, for example, if you choose the Instagram feed or the Explore tab, make sure your video still makes sense in a 1:1 aspect ratio. If it doesn’t, Ads Manager will flag it as an error.
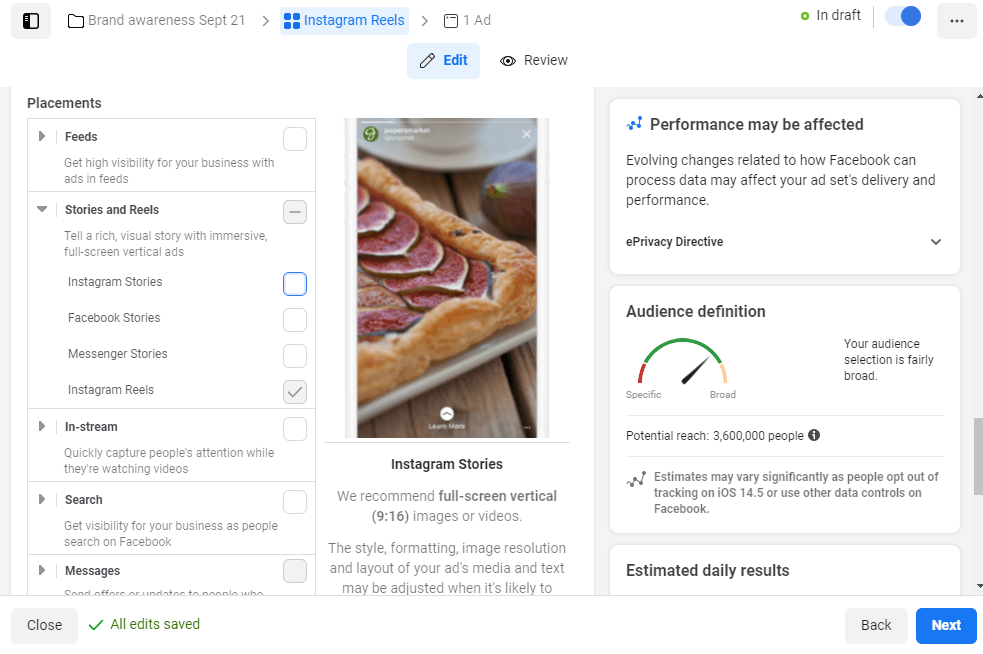
Below all of the placement options, you’ll see the blue See More Options link. Click this to access brand safety settings.
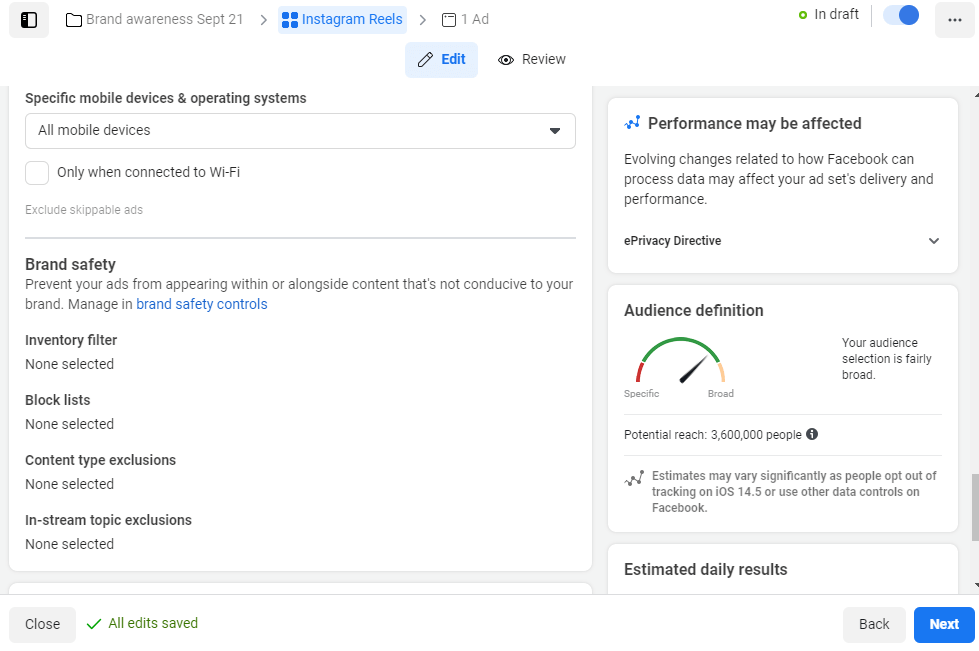
As well as filtering out risky topics or blocked users, you can also limit your ads to viewers on either Android or iOS devices. You can even choose to limit your ads to users on WiFi, which is a nice courtesy to people on limited data plans.
Once you’re completely happy with your audience, placements, and exclusions, click Next.
The next page of the ad editor deals with brand identity. Make sure that you’re posting ads from the correct account.
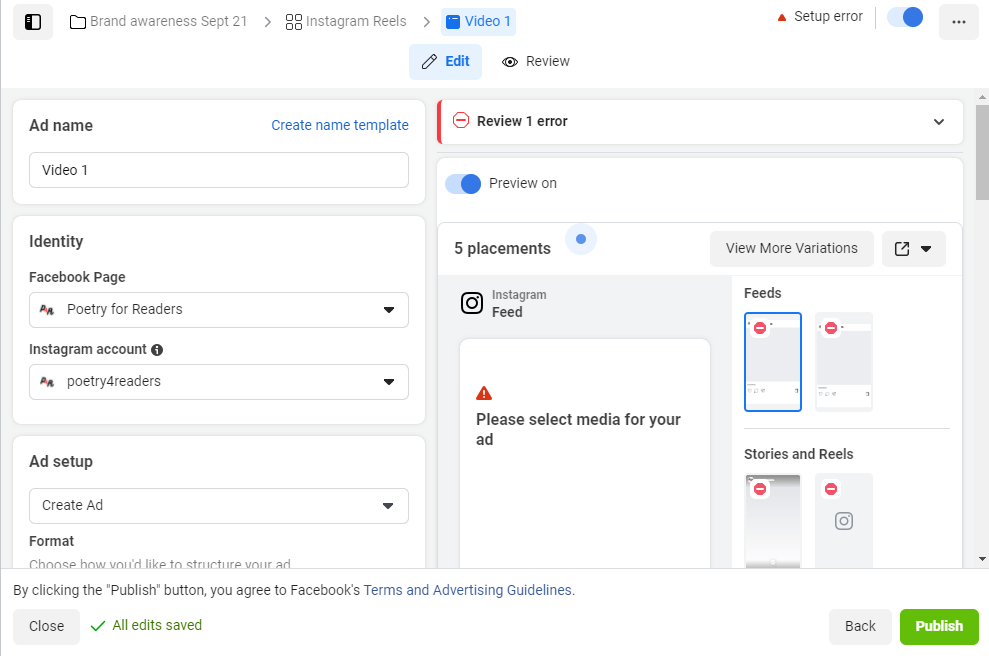
And now it’s finally time for the fun part—adding your creative video to the Instagram Reels ad.
At this point, Ads Manager offers you a few format options: single image or video, carousel, or collection. For now, we’ll stick with a single video.
Next, you have two options for the video itself: Add Video or Create Video. (If you’ve used multiple ad placements, the first option may show up as Add Media.)
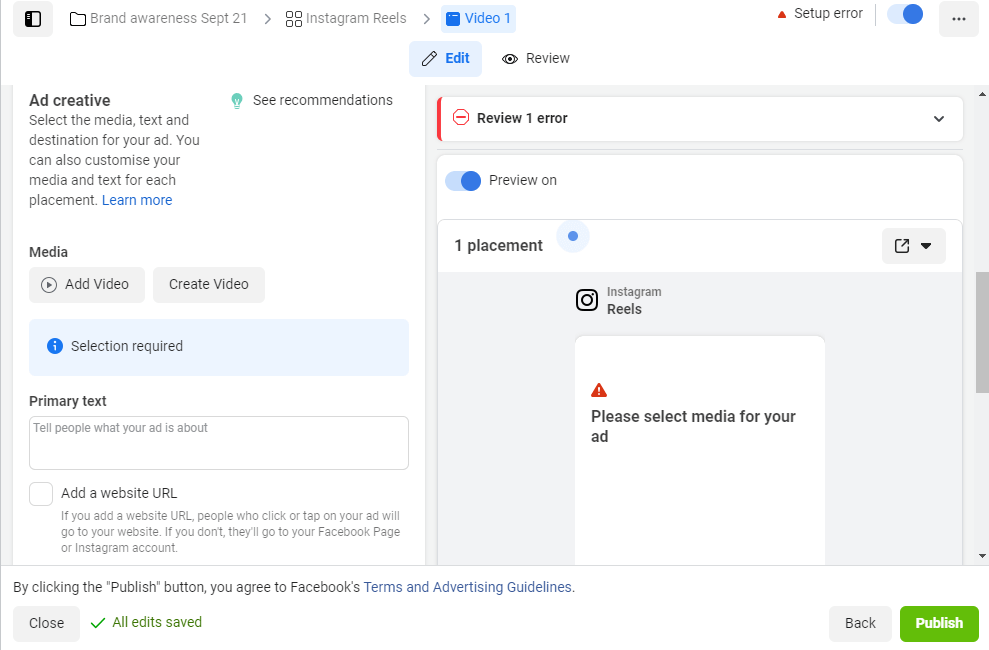
Add Video has multiple options within it. You can upload a new video or search through your recent Instagram posts. You can also use videos attached to your business account or Facebook page, or taken from a URL.
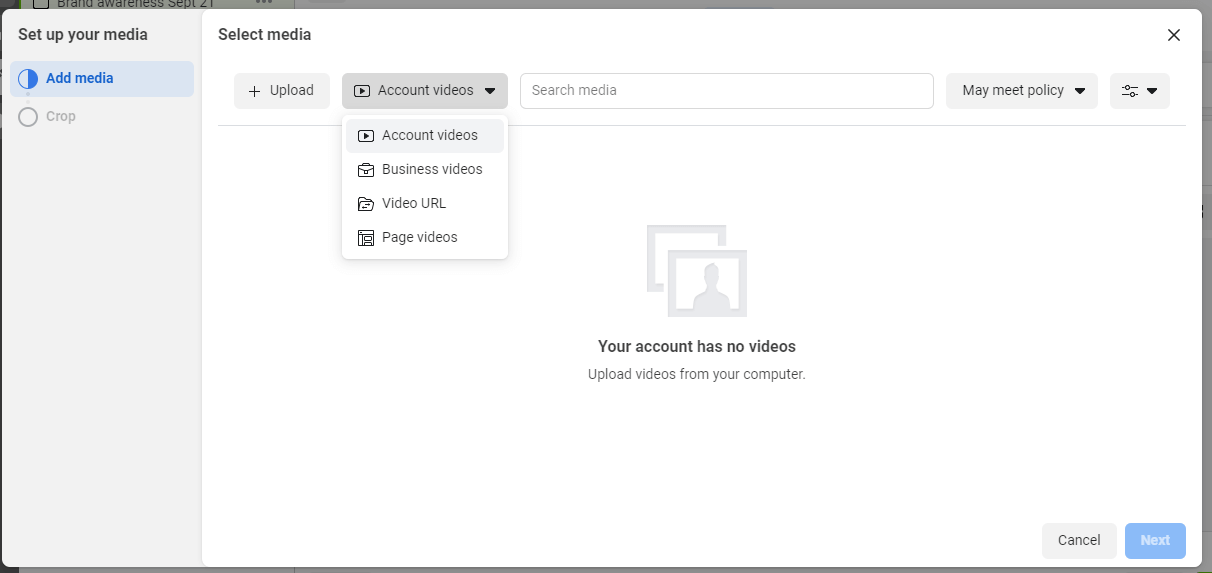
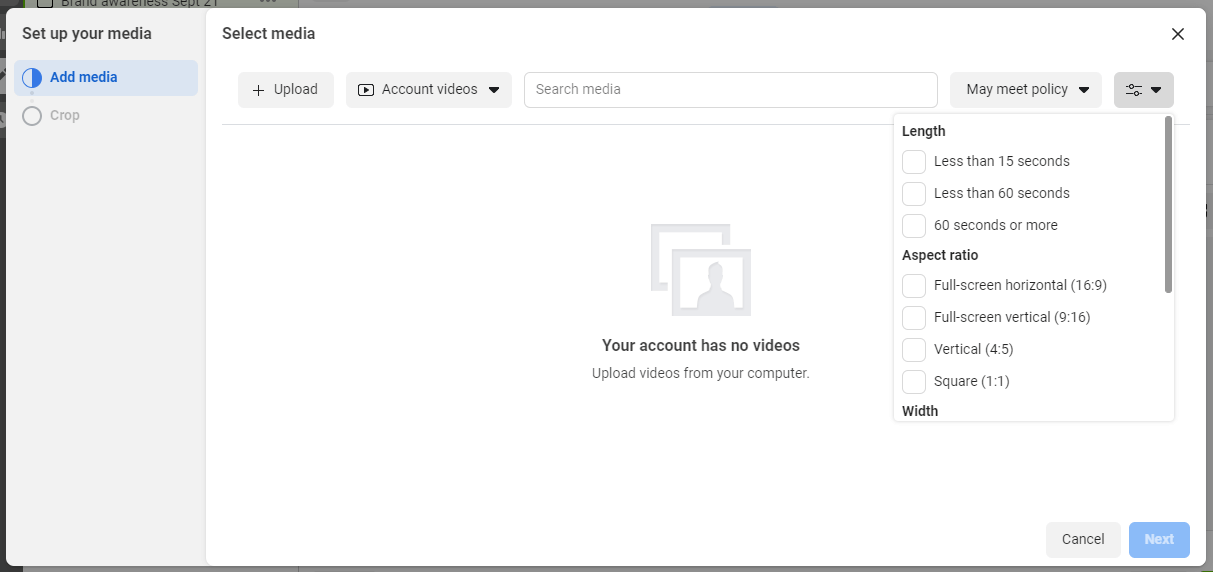
You can search through all of these videos and filter them by run time, aspect ratio, width, and height. Remember, reels are always shown vertically and in full screen so the wrong aspect ratio just won’t cut it.
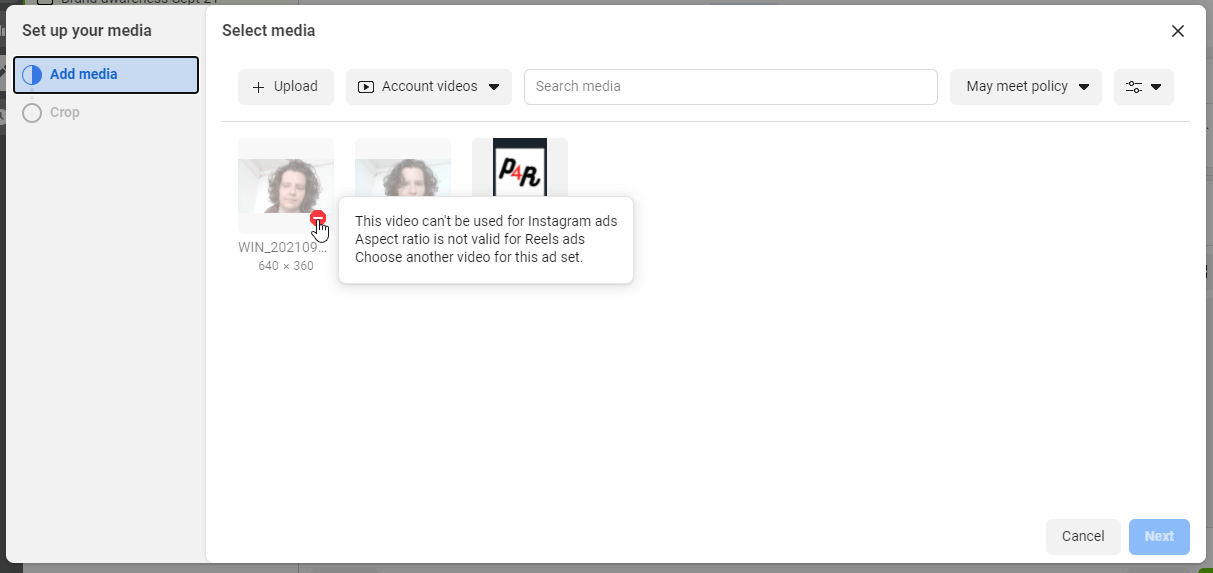
Ads Manager uses a traffic light system to tell you whether certain videos will work for your ads. A red stop-sign icon on a video means it won’t work. Hover over the icon to find out why.
Alternatively, if you see an amber icon with a caution sign, that means your video is suitable for some, but not all, of your ad placements. For example, it might have the right aspect ratio for Reels but not for the home feed.
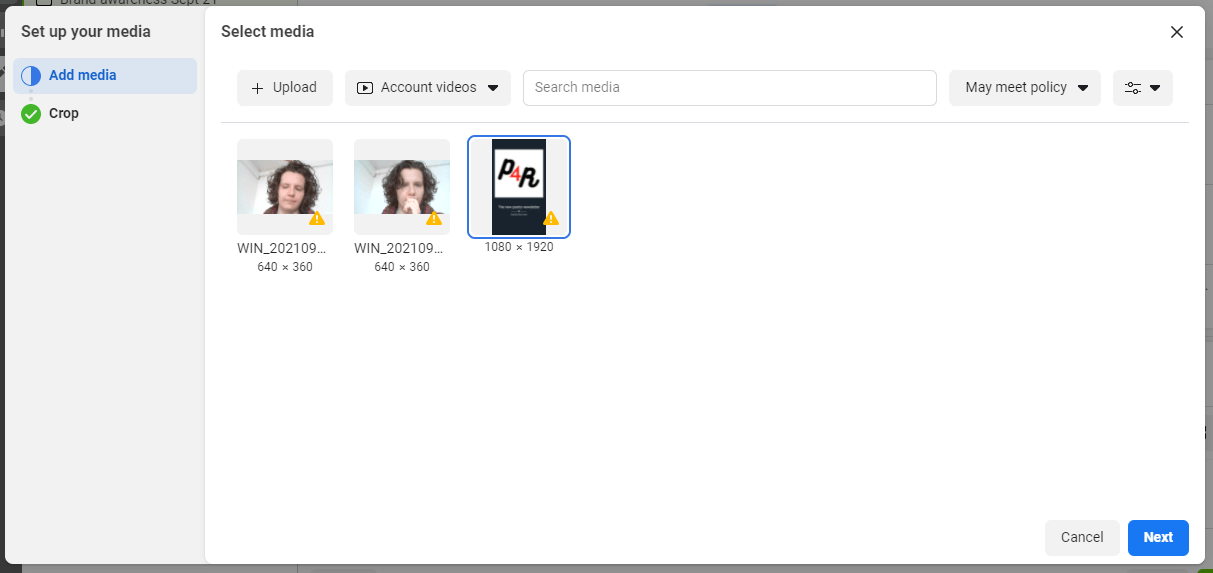
If you really want to use a video but it’s the wrong size, click on it and then click Crop in the left-hand menu. The ad editor will show previews of your video for different formats and offer options for cropping to recommended sizes.
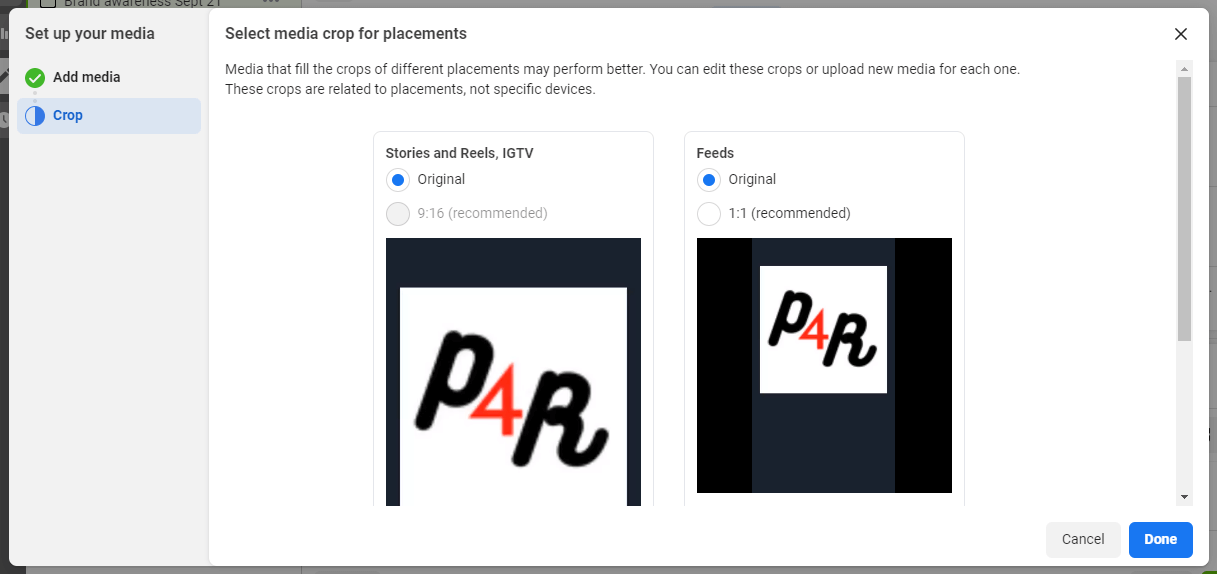
If you don’t have a video ready to go, you can use the Create Video option instead. This is actually a really neat piece of automation from Facebook and it’s quite fun to play with.
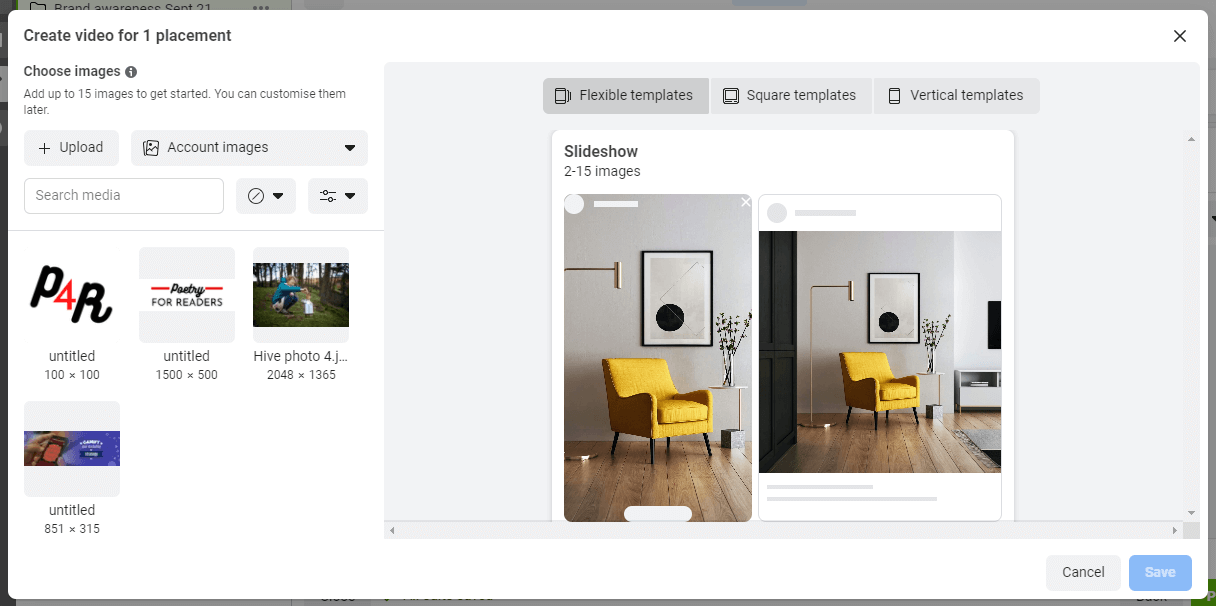
To get started, you simply upload a photo (or photos) or choose from your back catalog of account images. Once again, you can filter your image search by aspect ratio, height, or width.
Next, choose a template type: flexible, square, or vertical. For Reels, you’re going to need vertical templates for a vertical video. If you want to display your Reels ads in the home feed as well, then a flexible template will be able to switch between square and vertical formats.
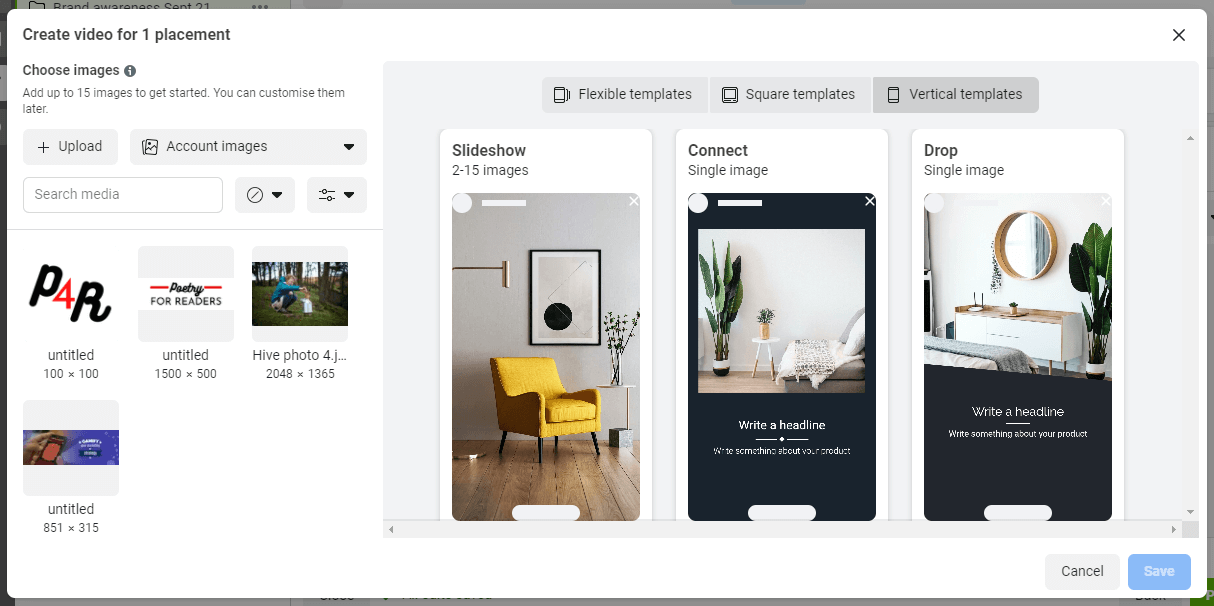
Once you’ve selected a template you like, you just have to fill in the headline and primary text. Hover over the template and click the blue Edit button that appears.
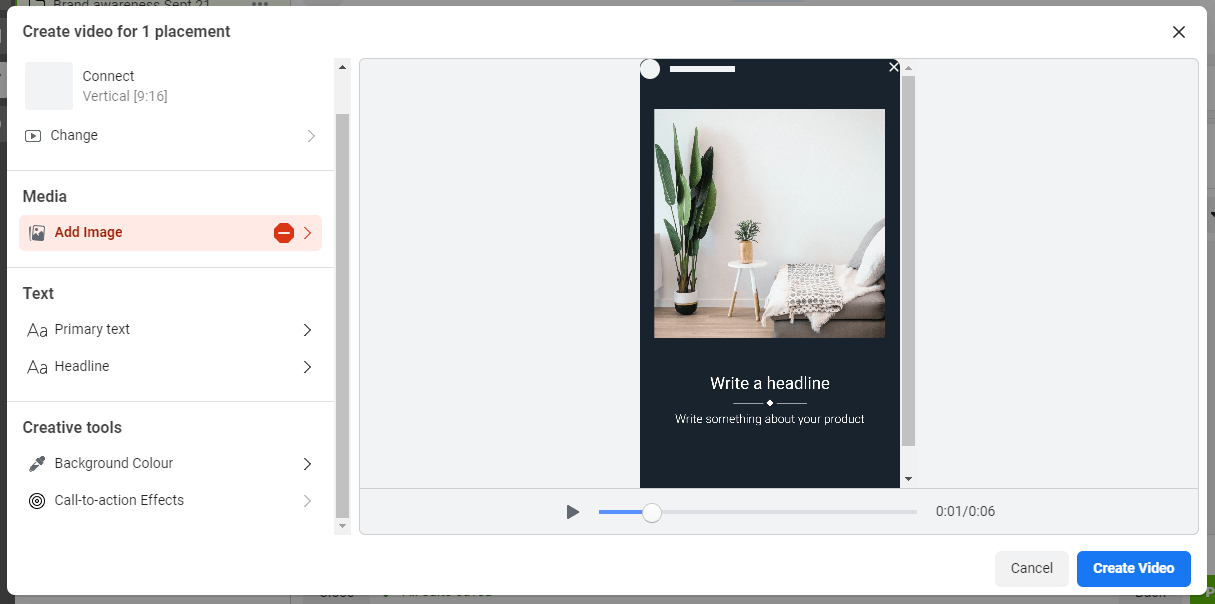
You can also experiment with different background colors and swipe-up link styles.
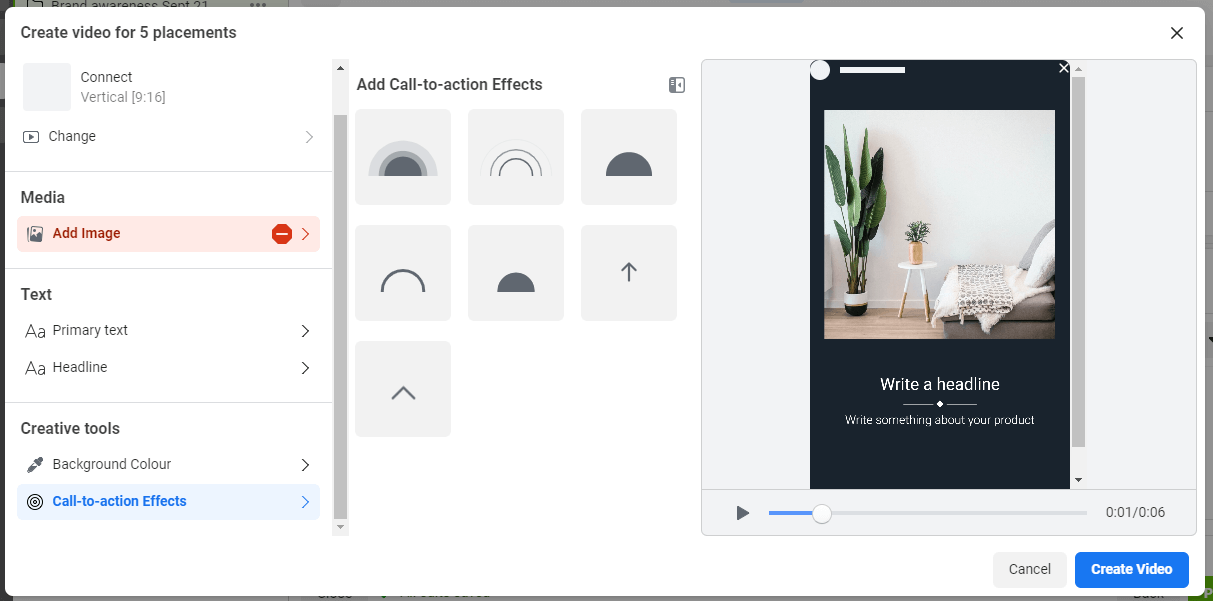
When you’re ready, click Create Video.
One key point to remember about the Create Video option is that it only makes 6-second videos. You absolutely can post videos this short as reels. Just be aware that if you want to reach viewers for longer, you’ll need to record your own videos manually.
When you’re happy with the content, it’s time to look at the rest of the creative; that is, the video caption and the primary text.
(Unlike other Instagram ad formats, you can’t add a headline, display link, or link description. Space is at a premium and the video should be the main focus of the ad.)
The ad editor has a set list of options for the swipe-up link. You have to choose one of these snippets of text.
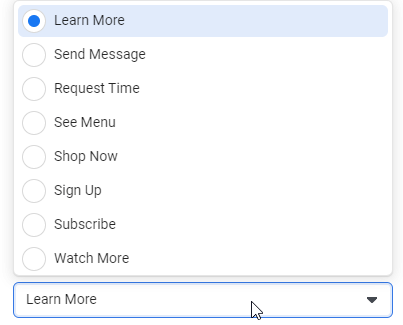
However, you have more control over the primary text.
When Instagram displays a Reel ad, it shows your username, a “Sponsored” label, and a preview of the caption at the bottom of the screen. In the ad editor, this video caption is called the primary text.
Primary text can support the swipe-up link on your reel, as a sort of extra call to action. You can draft up to five variations of the caption in the ad editor and Instagram will cycle through them for different viewers.
Further down the page, you can even set up additional languages to make sure your video is comprehensible for everyone in your target audience.
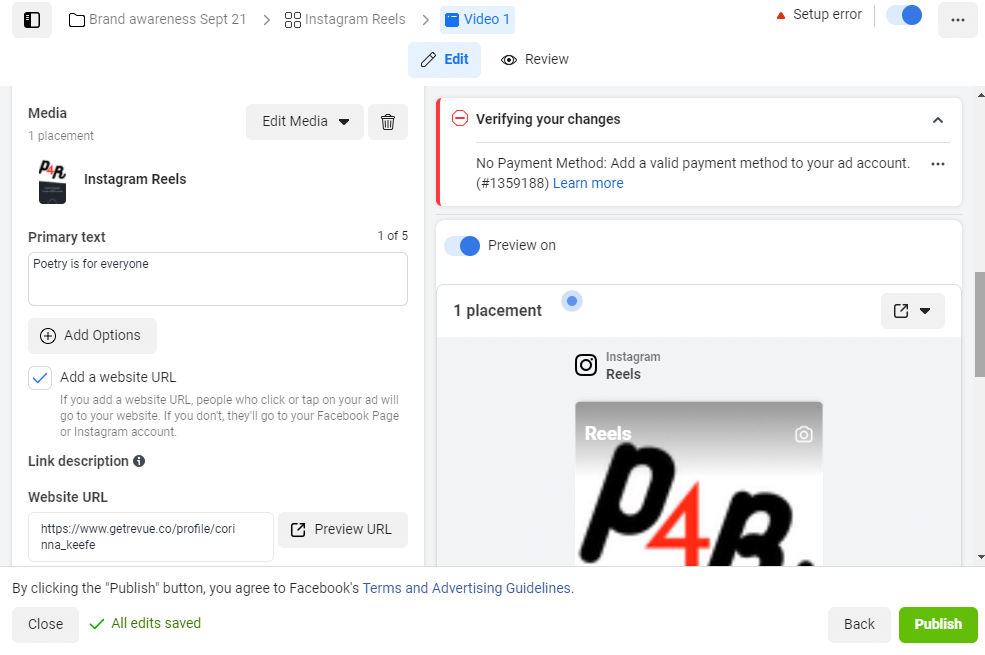
Don’t forget to actually add the link itself and check that it’s working correctly. If you use UTMs to track your web traffic (and if not, why not?), the ad editor has an automatic UTM building tool.
But that’s not your only tracking option…
Your final step before publishing an Instagram Reels ad is to set up tracking. Ads Manager gives you multiple tools to work with. You can track events on your website, in the Instagram app, or offline.
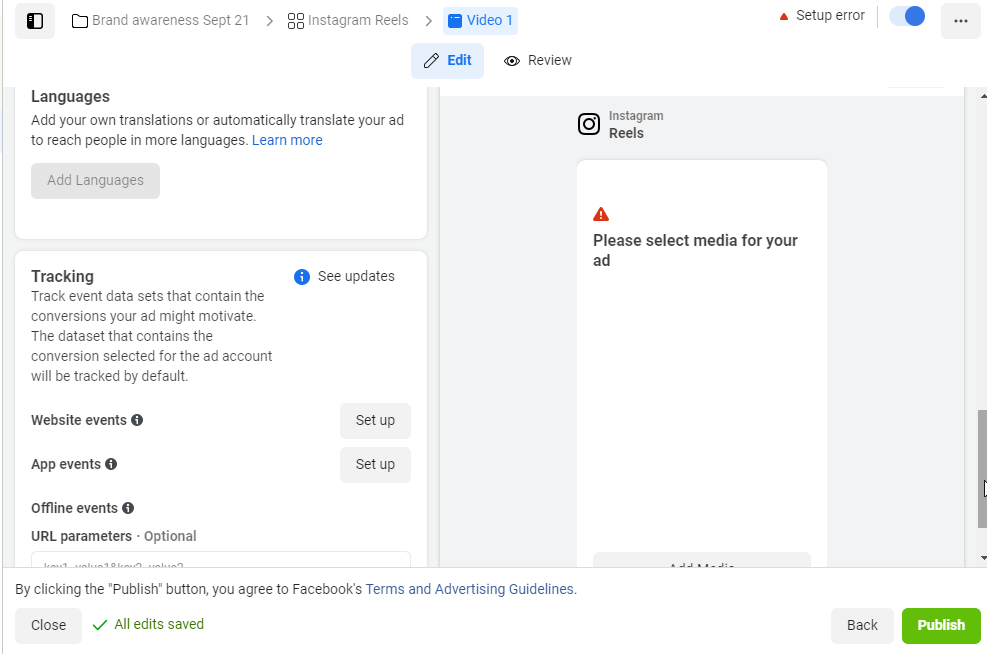
To access these options, you’ll need to have the Facebook pixel installed on your website, register your app with Instagram, or upload offline sales data, respectively. I won’t dive into those options in this article because they’re a whole separate tutorial. Just know that you have a lot of options for data collection here.
And you can, of course, check your results in Ads Manager once the ad goes live.
Instagram’s latest ad format, Reels, is now available in all locations. As with other Instagram ad types, you can refine your targeting by choosing specific demographics, interests, and locations or by using an audience you’ve previously created. With engaging creative, the Reels ad format gives you the potential to connect with new audiences on the platform.


Simply provide your email and we will contact you to get your free website.